安卓如何实现层布局
1、打开eclipse软件:
如图,所示打开我们的eclipse软件,并且建立一个Android工程;
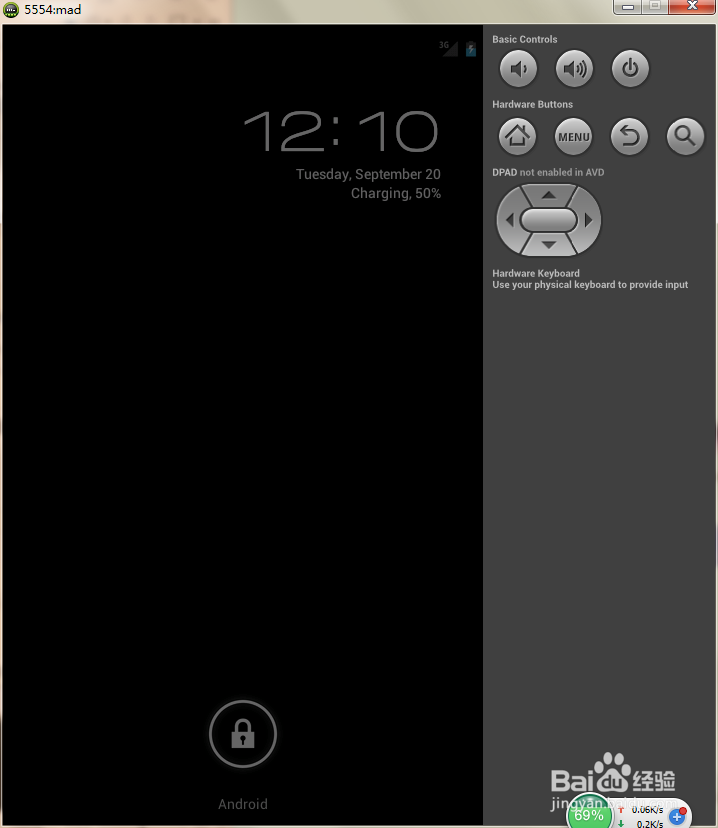
2、配置好虚拟机,如图,所示打开虚拟机;
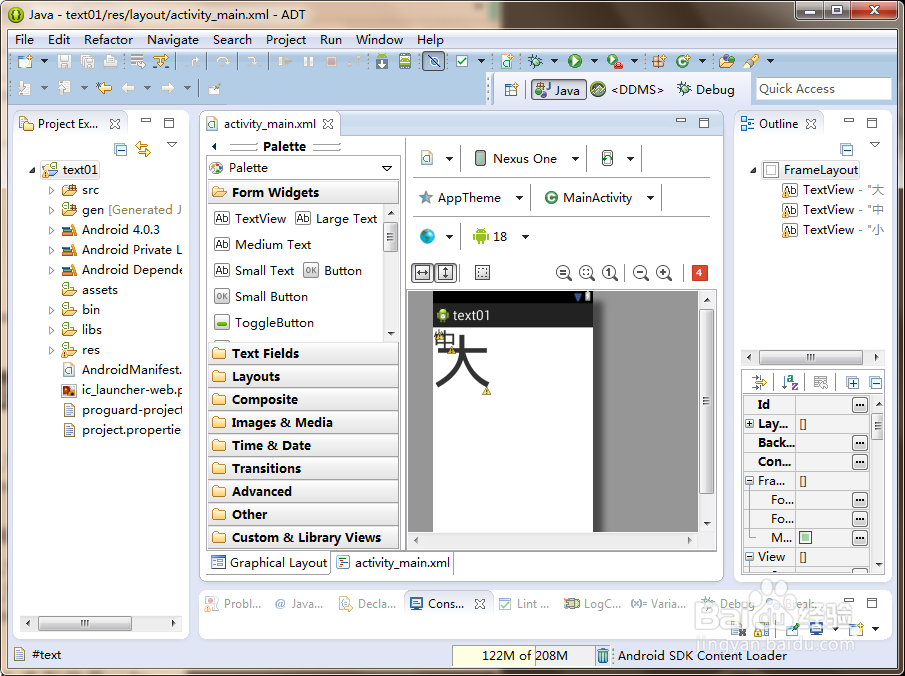
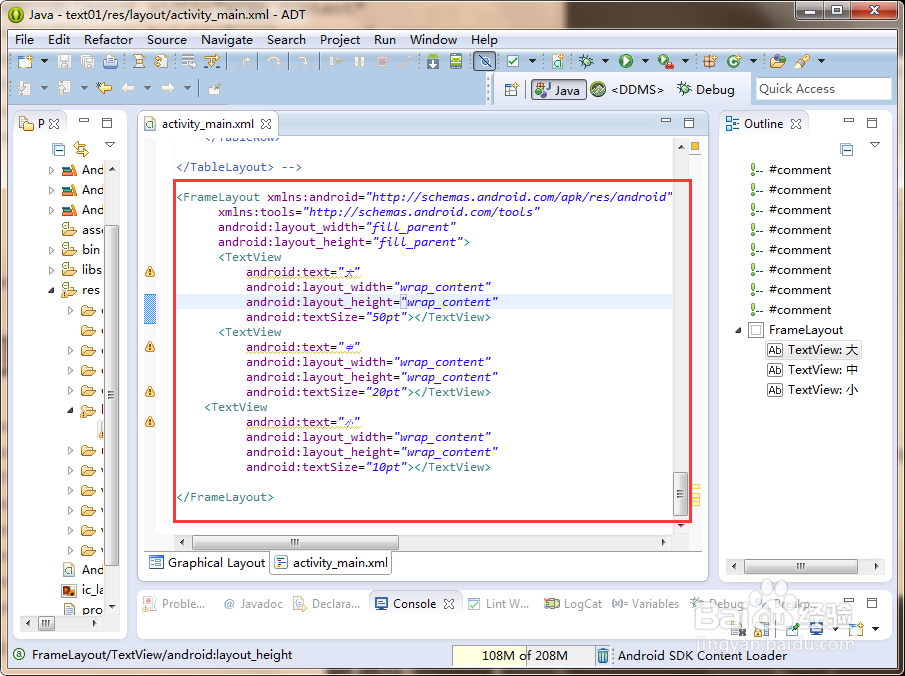
3、在工程中打开文件0“res/layout/activity_main.xml”,并且打开该文件,如图中所示;
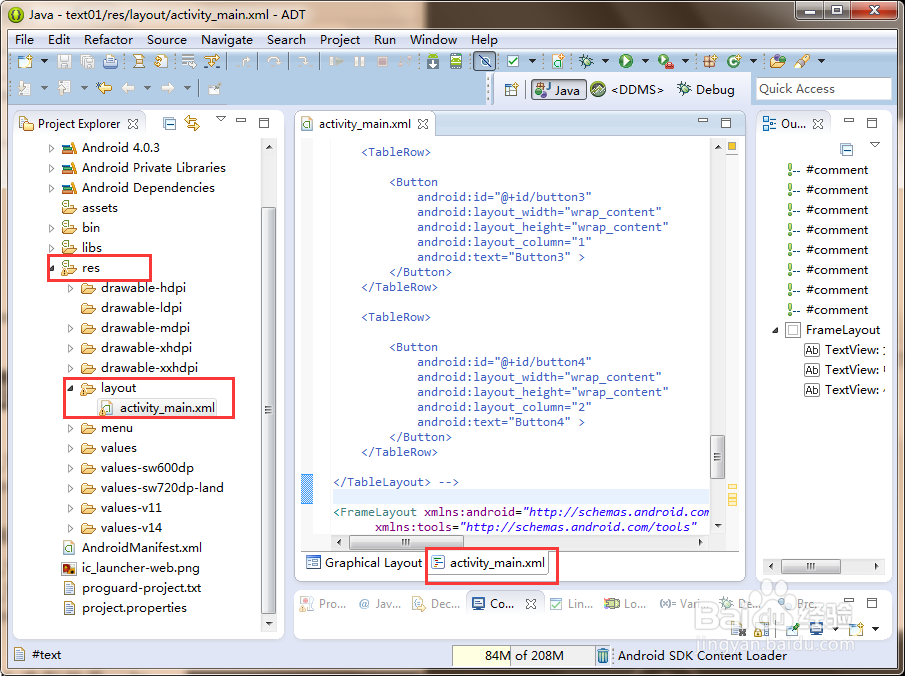
4、写入一下代码,结果如图中所示:
<FrameLayout xmlns:android="http://schemas.android.com/apk/res/android"
xmlns:tools="http://schemas.android.com/tools"
android:layout_width="fill_parent"
android:layout_height="fill_parent">
<TextView
android:text="大"
android:layout_width="wrap_content"
android:layout_height="wrap_content"
android:textSize="50pt"></TextView>
<TextView
android:text="中"
android:layout_width="wrap_content"
android:layout_height="wrap_content"
android:textSize="20pt"></TextView>
<TextView
android:text="小"
android:layout_width="wrap_content"
android:layout_height="wrap_content"
android:textSize="10pt"></TextView>
</FrameLayout>
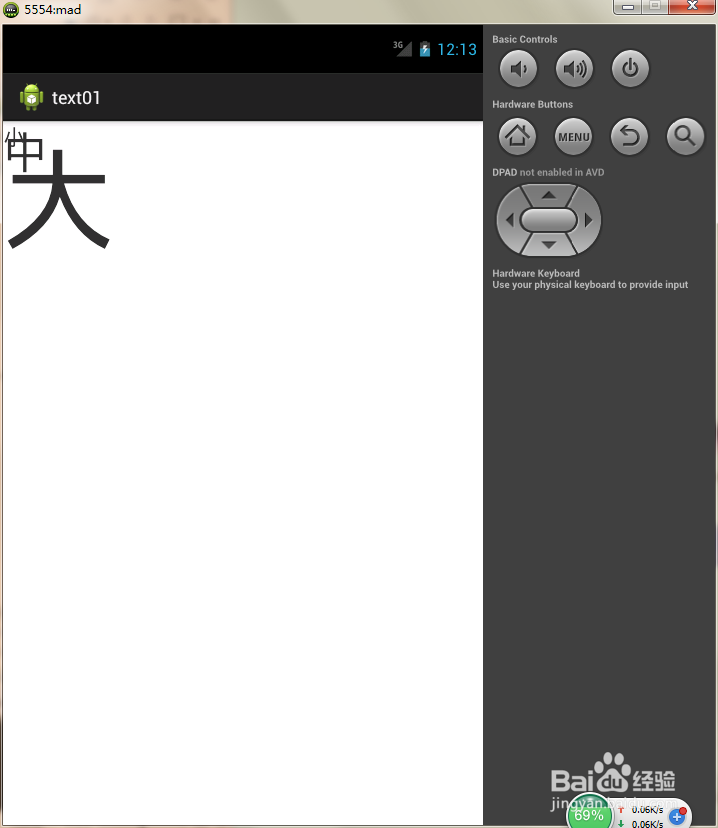
5、运行我们的程序,如图中所示,相信大家都应该写过第一个程序了,也都知道如何运行一个工程的配置了;
如果不知,请看下面经验;
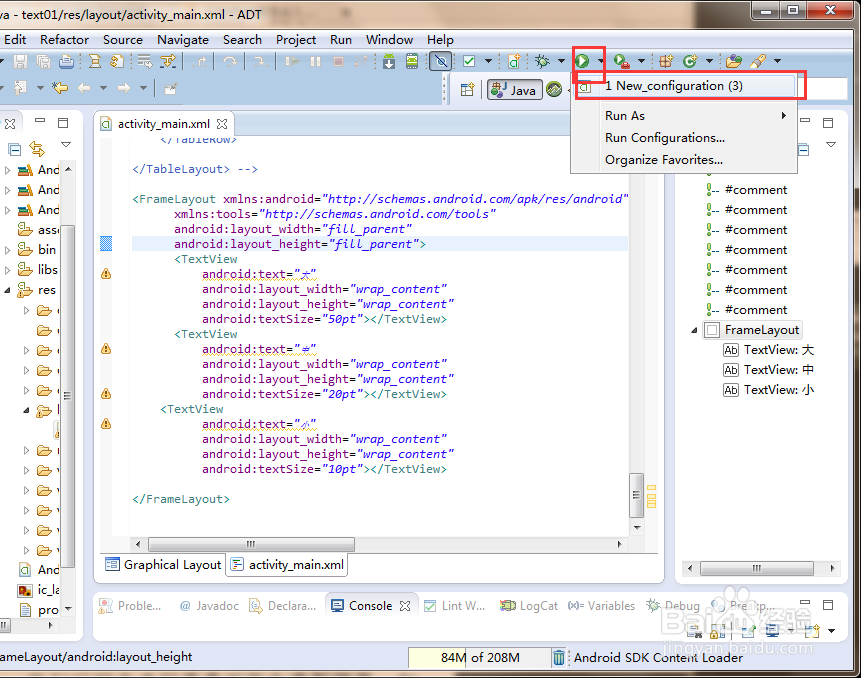
6、接着我们就可以查看我们的运行结果了;