Unity 经典教程 Editor扩展之MenuItem的使用
1、MenuItem:The MenuItem attribute allows you to add menu items to the main menu and inspector context menus.The MenuItem attribute turns any static function into a menu command. Only static functions can use the MenuItem attribute.
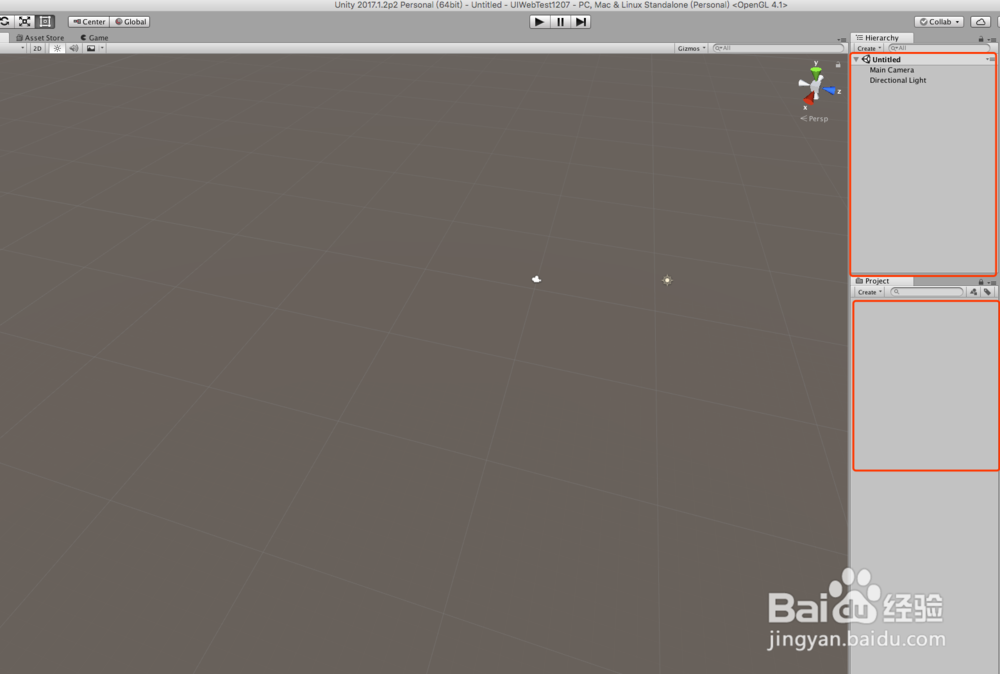
1、打开Unity,新建一个空工程,打开界面如下图
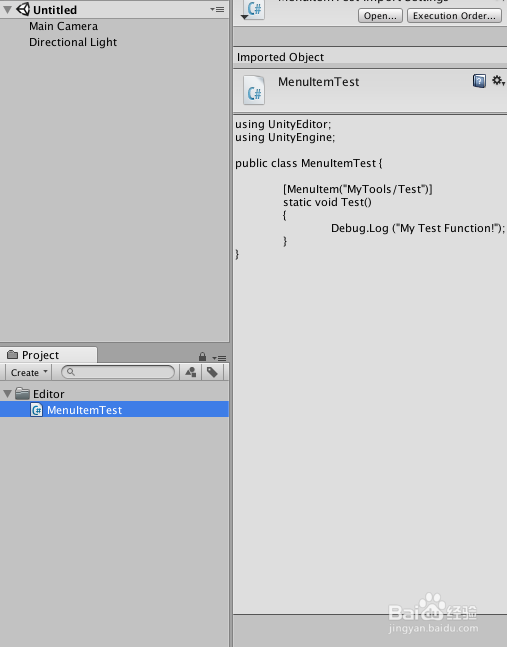
2、在工程里面,新建个文件夹,然后在文件夹里新建一个CSharp脚本,命名为“MenuItemTest”,如下图
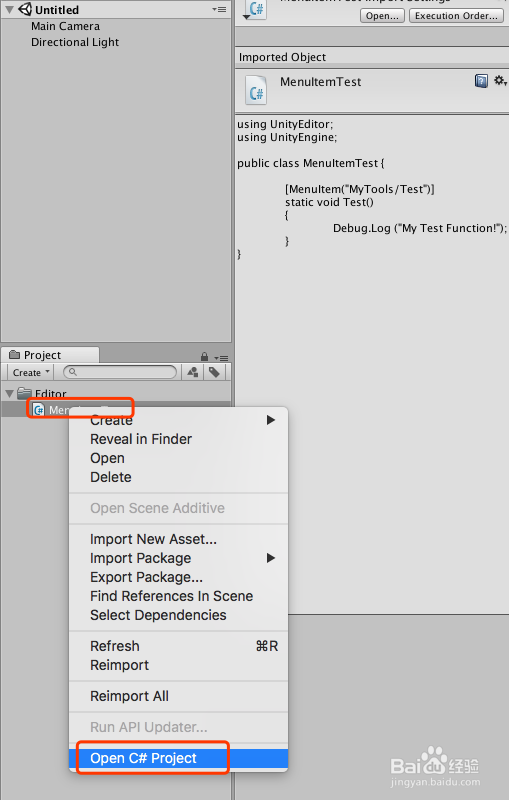
3、选中“MenuItemTest”右键“Open C# Project”或者直接双击脚本打开“MenuItemTest”脚本,如下图
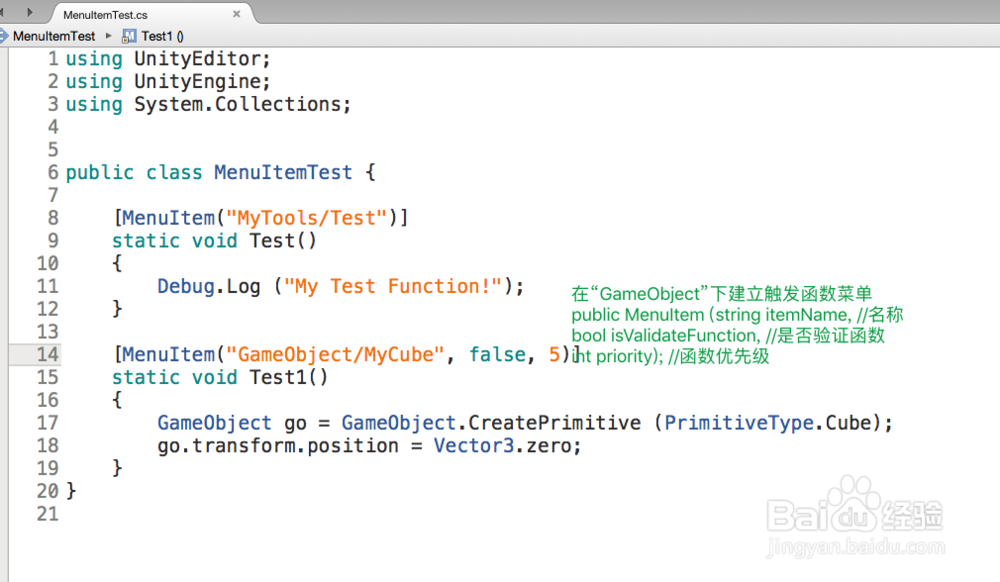
4、编辑脚本,引入 “UnityEditor”命名空间,在“MenuItem”括号中填写位置路径,并且确保触发的函数为静态static的,代码及说明如下图

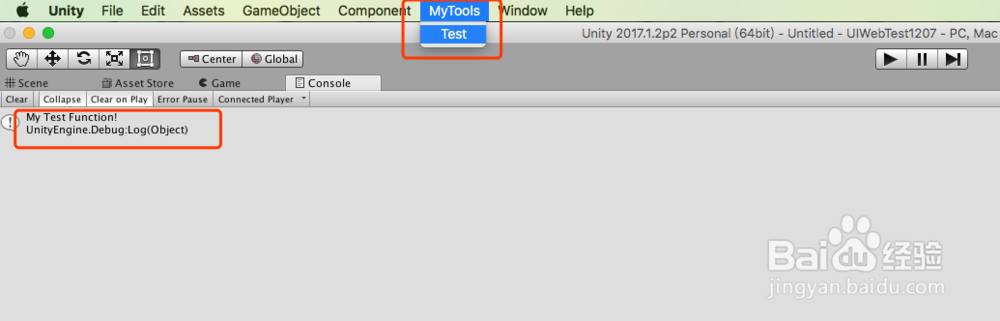
5、编译正确,回到Unity界面,就可以在菜单栏找到“MyTools”,展开之后单击“Test”,即可在控制台“console”看到函数的打印信息,如下图
6、接下来,我们在“GameObject”下创建一个自己的“Cube”创建,会用到“MenuItem (string itemName, bool isValidateFunction, int priority)函数”,代码和说明,如下图
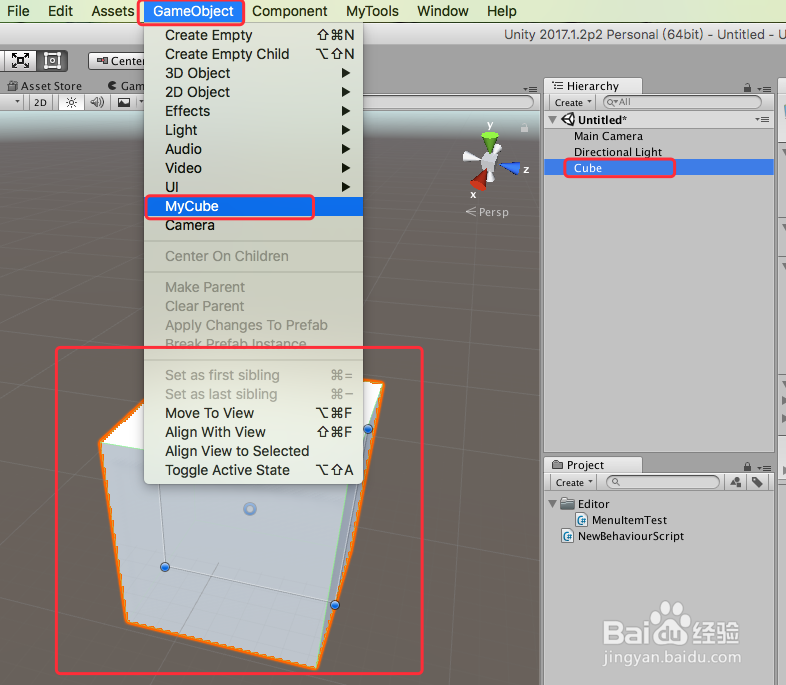
7、编译正确,回到Unity界面,即可在“GameObject”下找到“MyCube”,单击就可以在坐标原点建立一个“Cube”,也可以在场景下右键找到“MyCube”,也可以创建“Cube”,如下图

8、到此,Unity 经典教程 Editor扩展之MenuItem的使用讲解结束,更多资料可参见 Unity Manul 手册,谢谢