springboot实现图片上传
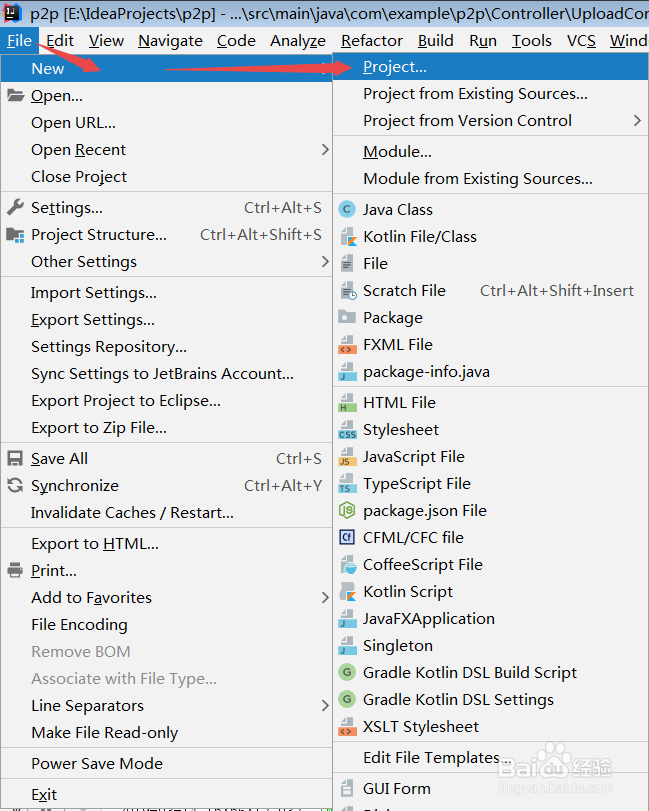
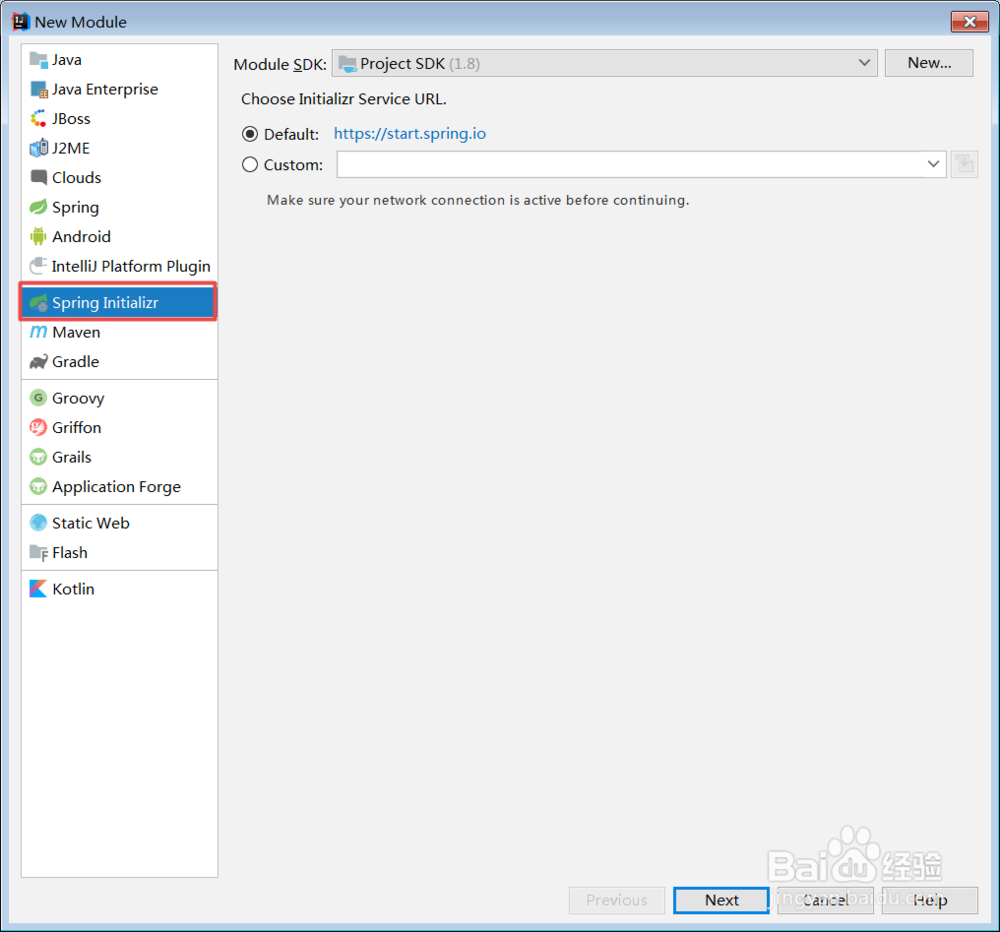
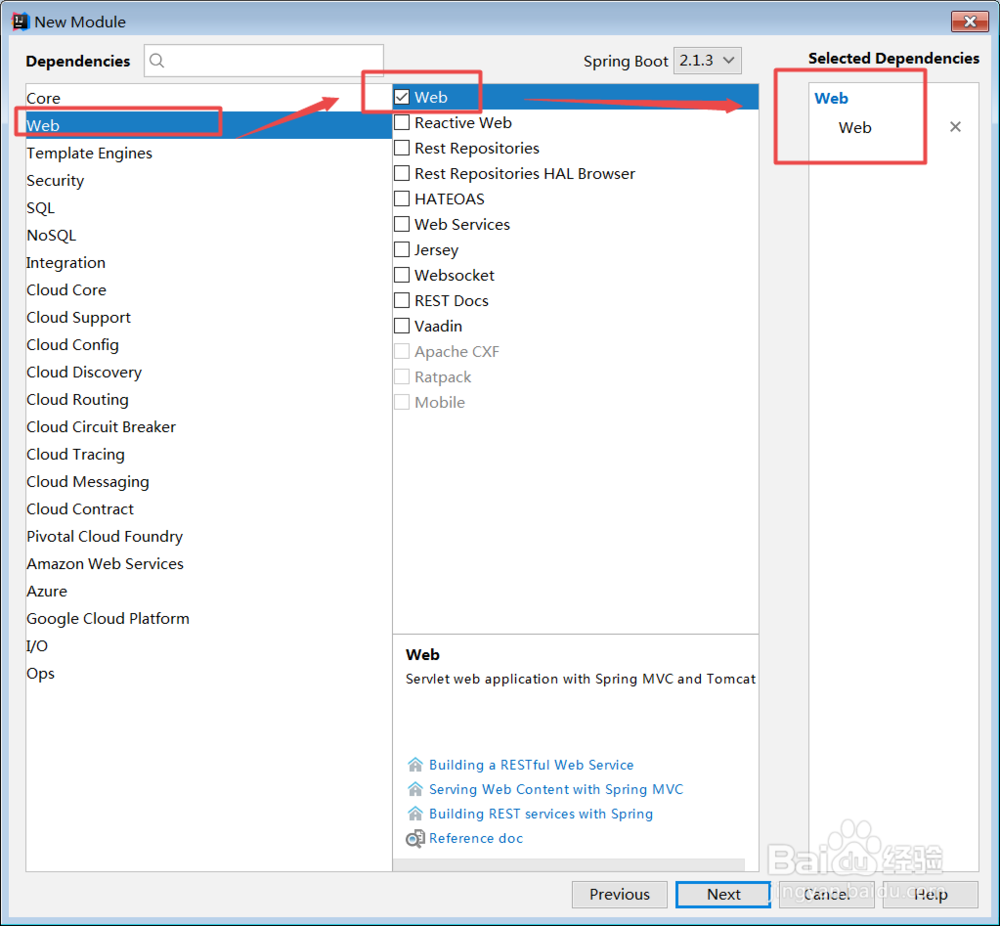
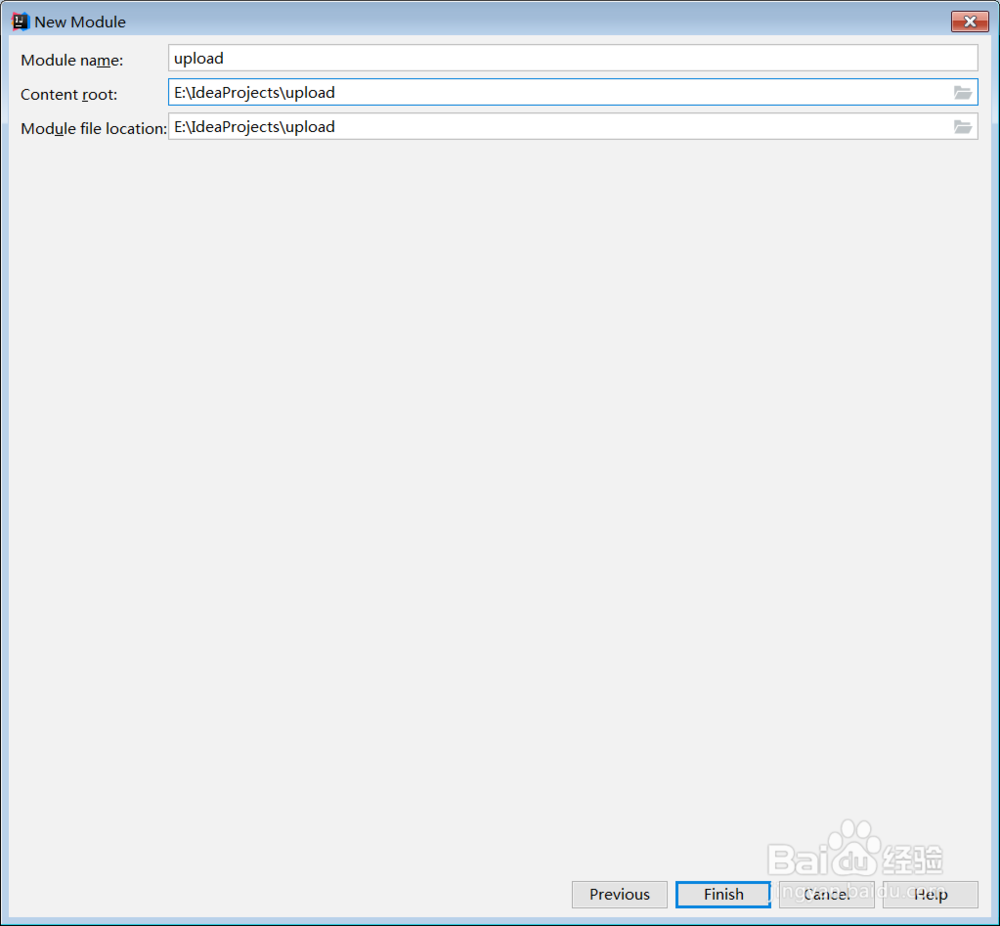
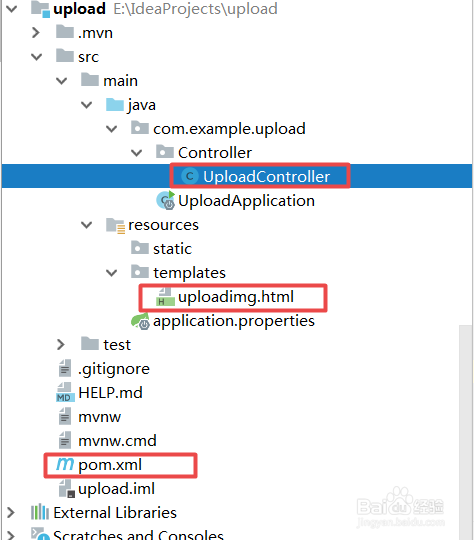
1、第一步:搭建springboot开发环境。1、file --》new --》 project.. 打开创建选择项目类型框2、选择创建springboot类型的项目--》进入项目创建框 “upload”项目名称不能大写会报错。3、选择依赖web下一步完成。
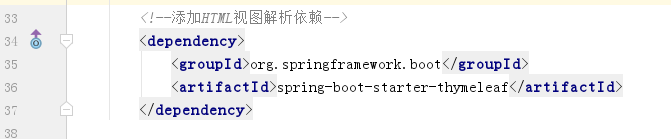
2、第二步:在pom.xm文件中添加HTML视图解析依赖。<!--添加HTML视图解析依赖--><dependency> <groupId>org.springframework.boot</groupId> <artifactId>spring-boot-starter-thymeleaf</artifactId></dependency>
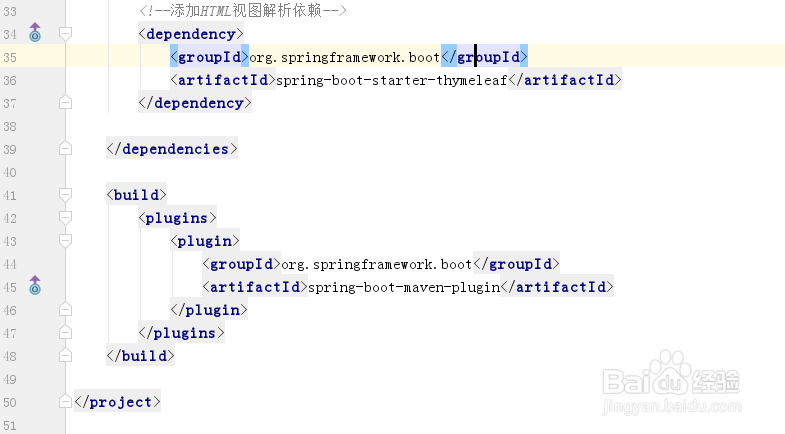
3、第三步:pom.xm确认。<modelVersion>4.0.0</mo蟠校盯昂delVersion><parent> <groupId>org.springframework.boot</groupId> <artifactId>spring-boot-starter-parent</artifactId> <version>2.1.3.RELEASE</version> <relativePath /> <!-- lookup parent from repository --></parent><groupId>com.example</groupId><artifactId>upload</artifactId><version>0.0.1-SNAPSHOT</version><name>upload</name><description>Demo project for Spring Boot</description><properties> <java.version>1.8</java.version></properties><dependencies> <dependency> <groupId>org.springframework.boot</groupId> <artifactId>spring-boot-starter-web</artifactId> </dependency> <dependency> <groupId>org.springframework.boot</groupId> <artifactId>spring-boot-starter-test</artifactId> <scope>test</scope> </dependency> <!--添加HTML视图解析依赖 --> <dependency> <groupId>org.springframework.boot</groupId> <artifactId>spring-boot-starter-thymeleaf</artifactId> </dependency></dependencies><build> <plugins> <plugin> <groupId>org.springframework.boot</groupId> <artifactId>spring-boot-maven-plugin</artifactId> </plugin> </plugins></build></project>

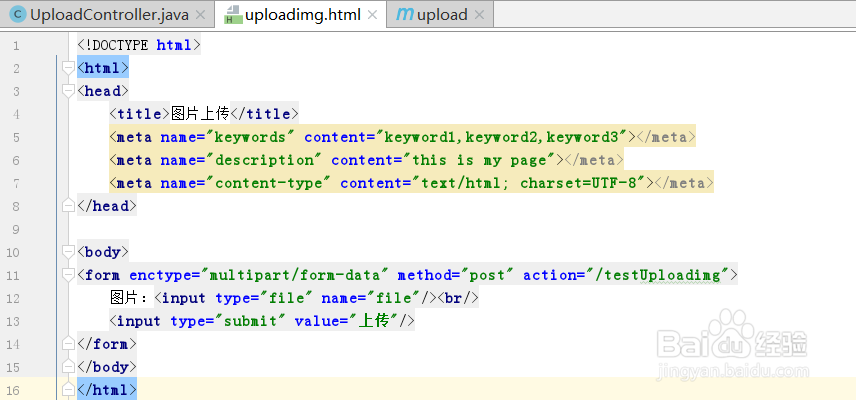
4、第四步:编写代码。1、前端代码<!DOCTYPE html><html> <hea颊俄岿髭d> <title>图片上传</title> <meta name="keywords" content="keyword1,keyword2,keyword3"></meta> <meta name="description" content="this is my page"></meta> <meta name="content-type" content="text/html; charset=UTF-8"></meta> </head> <body> <form enctype="multipart/form-data" method="post" action="/testUploadimg"> 图片:<input type="file" name="file" /><br/> <input type="submit" value="上传" />. </form> </body></html>
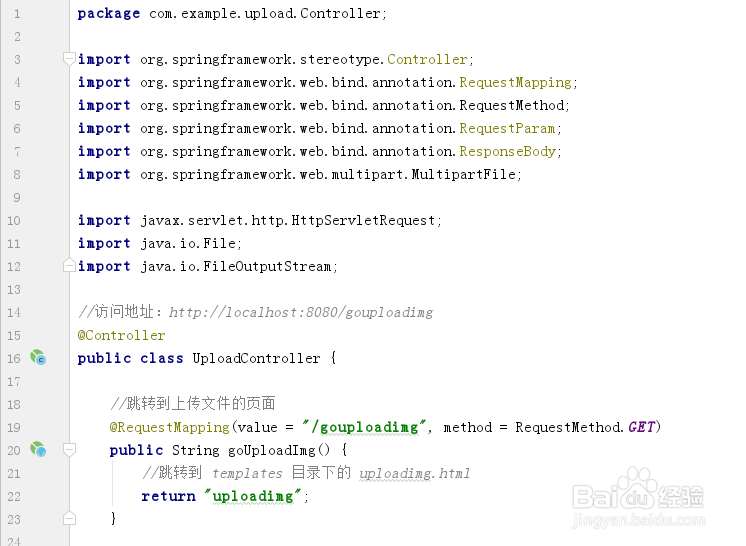
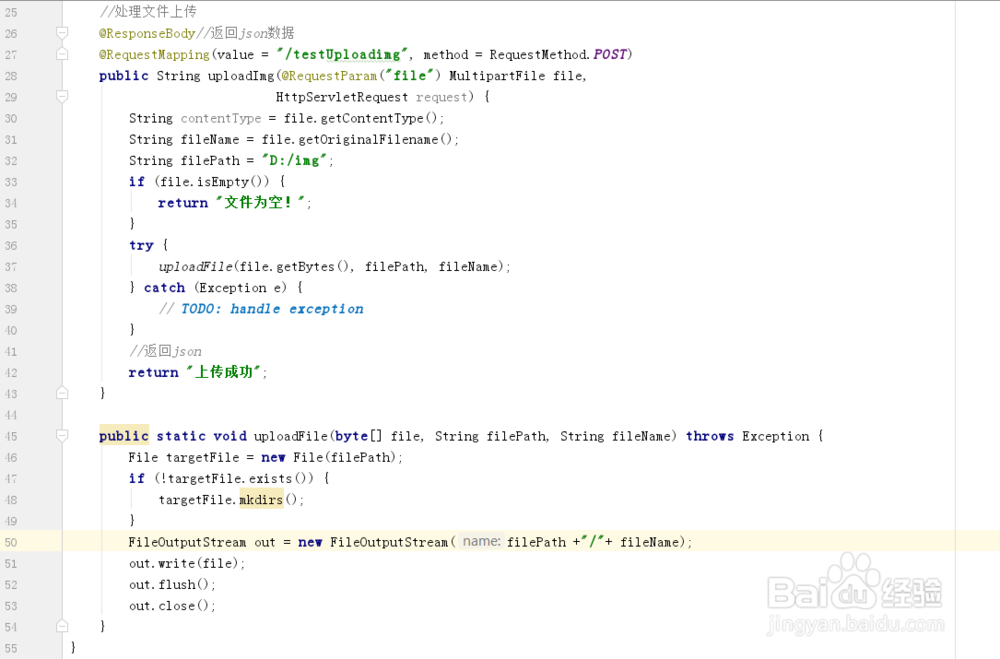
5、第五步:控制器UploadController实现。UploadController 主要分为3部分2.1 调整页面请求goUploadImg2.2 上传请求方法uploadImg2.3 存储图片方法uploadFile@Controllerpublic class UploadController { //跳转到上传文件的页面 @RequestMapping(value = "/gouploadimg", method = RequestMethod.GET) public String goUploadImg() { //跳转到 templates 目录下的 uploadimg.html return "uploadimg"; } //处理文件上传 @ResponseBody //返回json数据 @RequestMapping(value = "/testUploadimg", method = RequestMethod.POST) public String uploadImg(@RequestParam("file") MultipartFile file, HttpServletRequest request) { tring contentType = file.getContentType(); String fileName = file.getOriginalFilename(); String filePath = "D:/img"; if (file.isEmpty()) { return "文件为空!"; } try { uploadFile(file.getBytes(), filePath, fileName); } catch (Exception e) { // TODO: handle exception } //返回json return "上传成功"; } public static void uploadFile(byte[] file, String filePath, String fileName) throws Exception { File targetFile = new File(filePath); if (!targetFile.exists()) { targetFile.mkdirs(); } FileOutputStream out = new FileOutputStream(filePath +"/"+ fileName); out.write(file); out.flush(); out.close(); }}
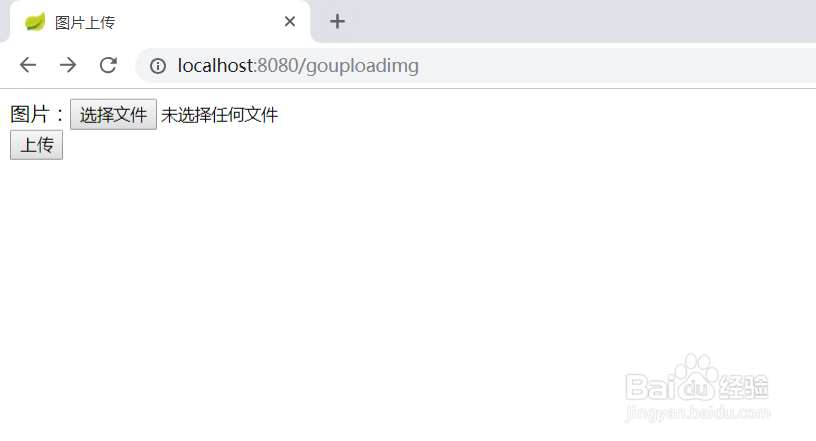
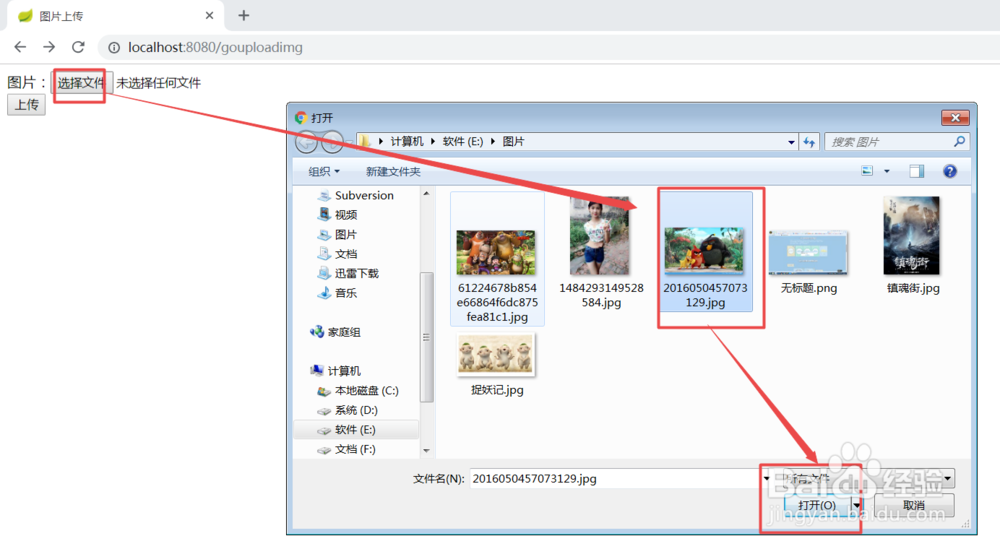
6、第六步:测试。打开页面地址如下图所示: