Unity 经典教程 Editor扩展之AddComponentMenu
Unity 经典教程 Editor扩展之AddComponentMenu的使用。主要介绍使用AddComponentMenu对于选择的物体进行添加脚本操作,本节简单通过使用Add潮贾篡绐ComponentMenu设计一个实现删除选中物体的案例,具体如下:
工具/原料
Unity
Unity Editor
一、基本概念
1、AddComponentMenu:The AddComponentMenu attribute allows you to place a script anywhere in the "Component" menu, instead of just the "Component->Scripts" menu.You use this to organize the Component menu better, this way improving workflow when adding scripts. Important notice: You need to restart.
二、具体操作
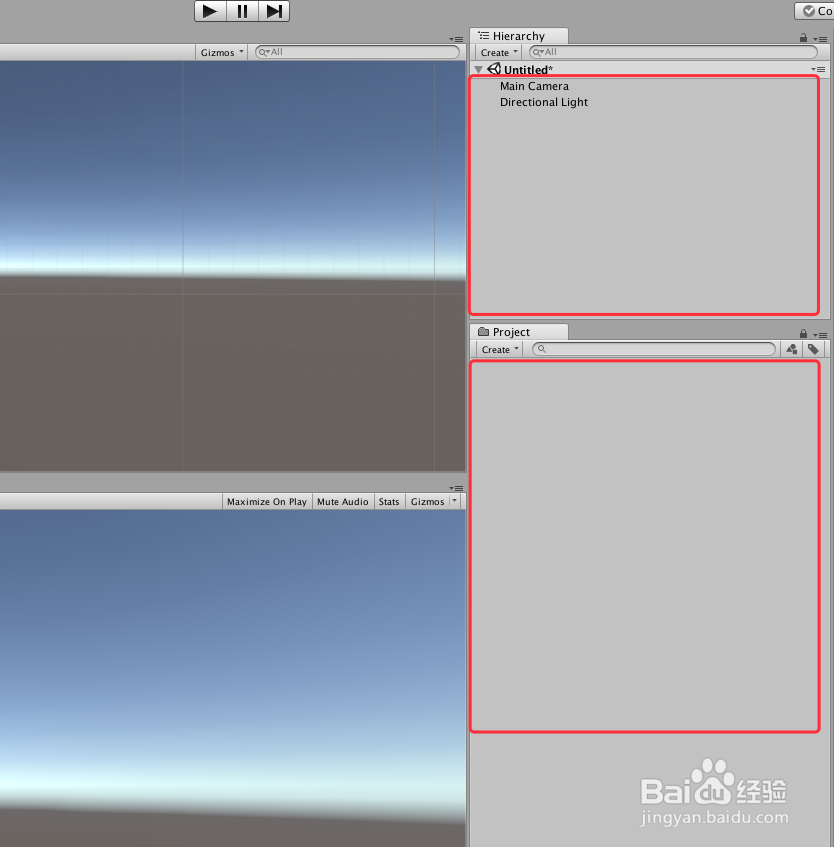
1、打开Unity,新建一个空工程,Unity界面如下图
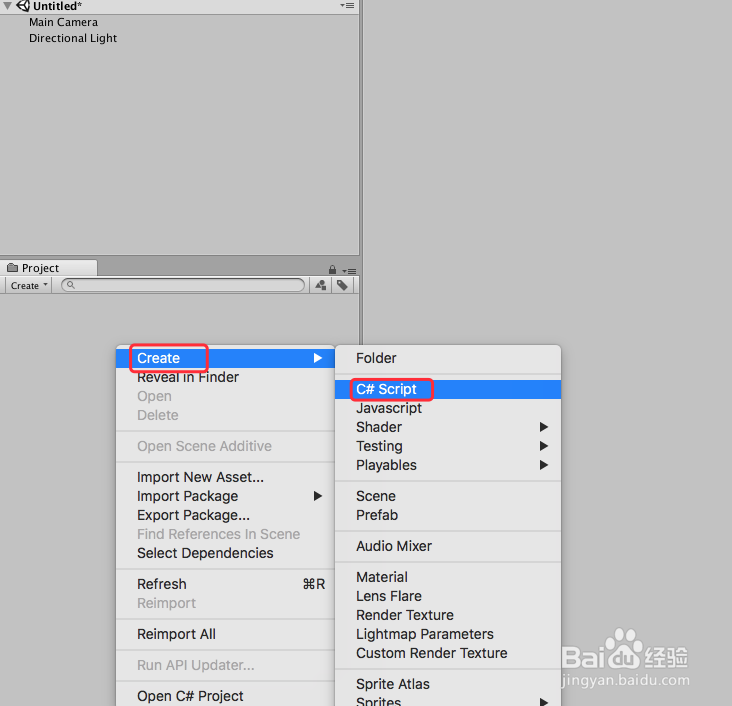
2、在工程里面新建一个脚本,可以命名为“AddComponentMenuTest”,如下图
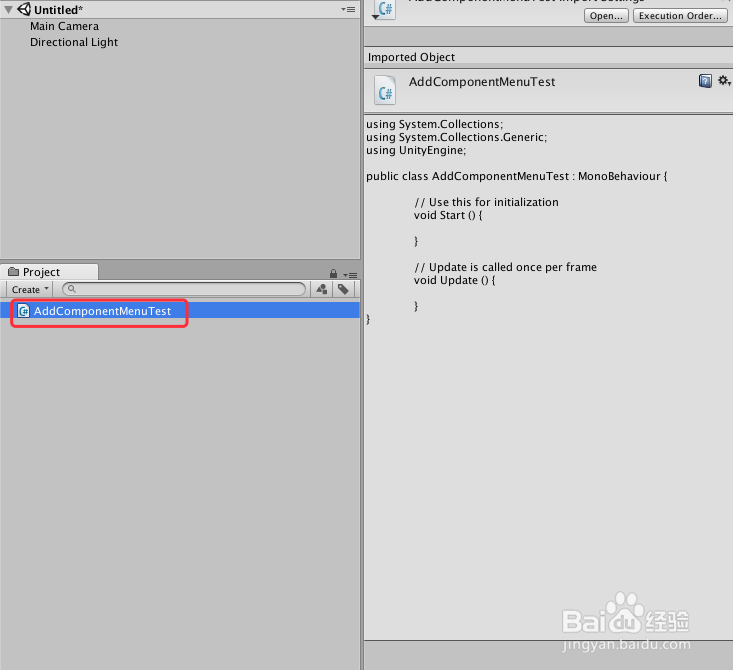
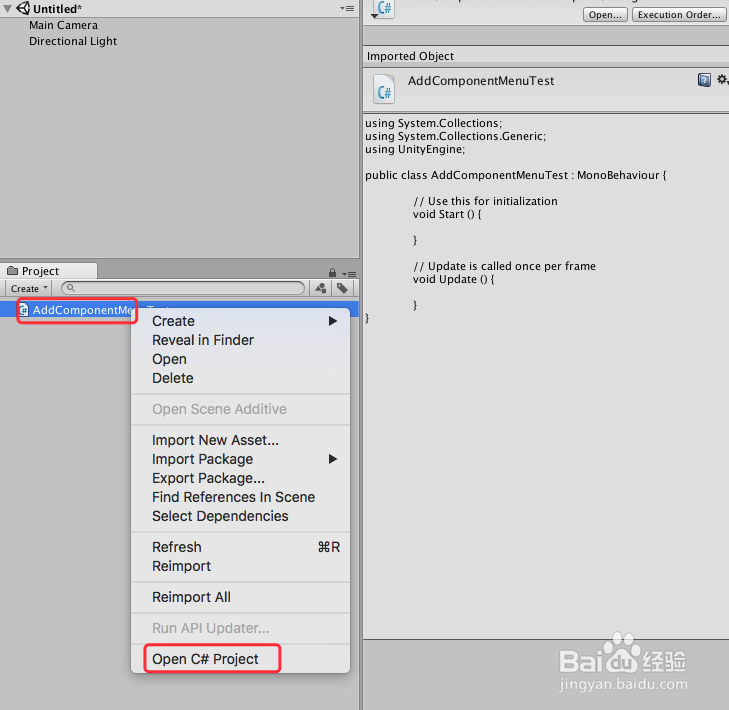
3、选择中新建的脚本“AddComponentMenuTest”,双击脚本或者右键“Open C# Project”,打开脚本,如下图
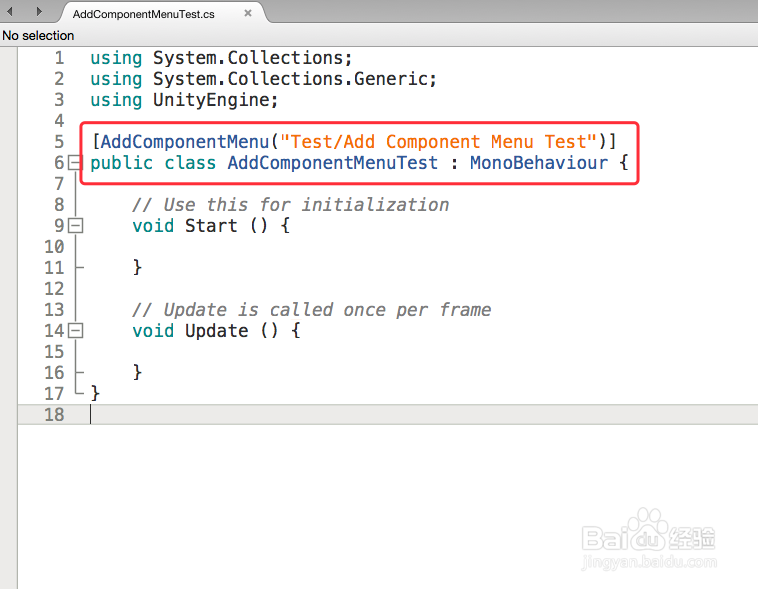
4、在打开的脚本编辑区域里,进行代码编写,在class类上添加“AddComponentMenu”的引用,具体如下
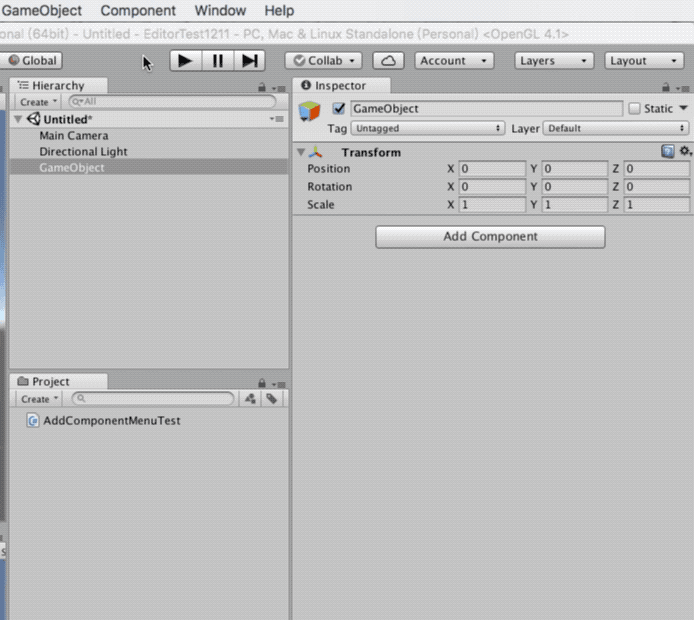
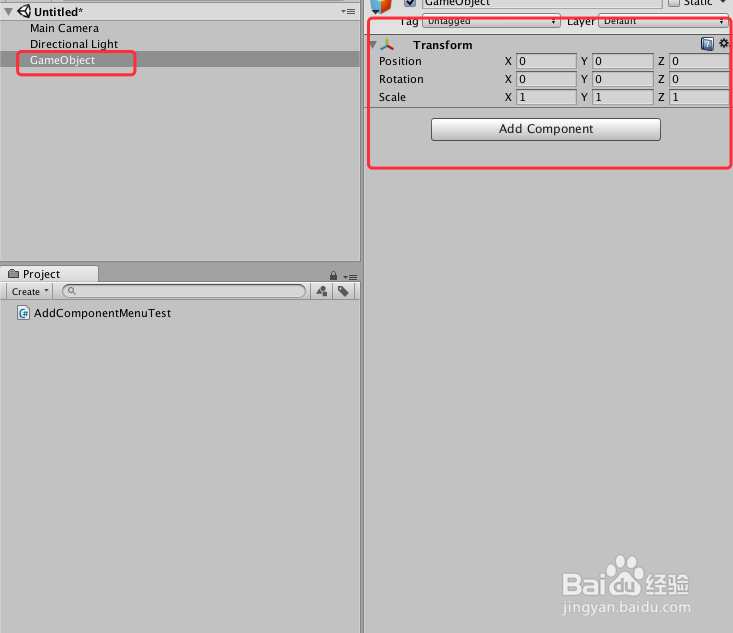
5、编译正确后,回到Unity界面,在场景里面添加一个“GameObject”,如下图
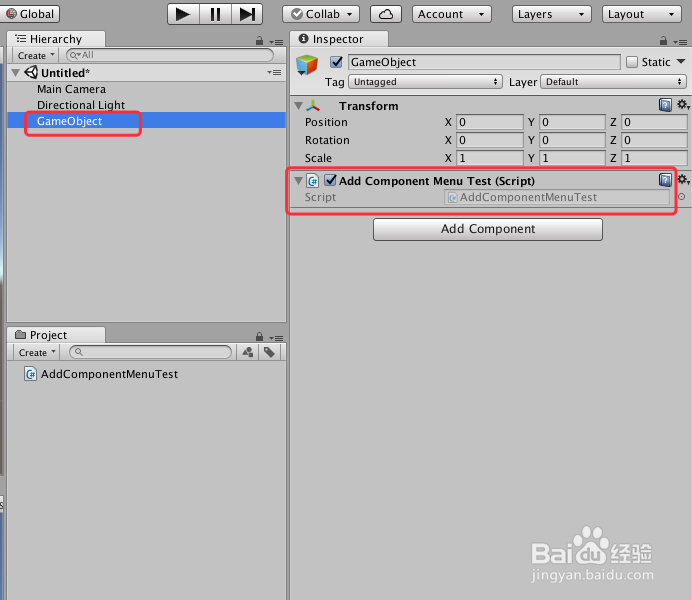
6、在Unity上边条“Component”的菜单栏下找到“Test”,然后点击“Te衡痕贤伎st”下的“Add Component Menu Test”,就能给“GameObject”快速添加上刚才写的脚本,如下图

7、到此,《Unity 经典教程 Editor扩展之AddComponentMenu的使用》讲解结束,更多资料可参见 Unity Manul 手册,谢谢