opencart的后台开发
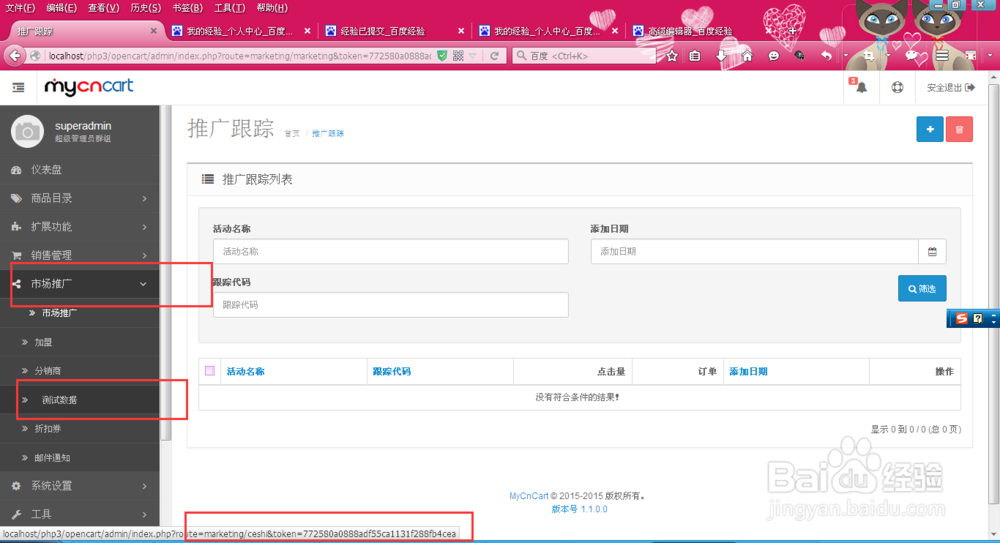
1、首先需要登陆后台admin文件,在CLV的三个文件夹中打开common文件夹中打开menu文件,首先在L:menu.php文件中添加:$_['text_ceshi'] = '测试数据';然后再C:menu.php文件中添加:$data['text_ceshi'] = $this->language->get('text_ceshi');$data['ceshi'] = $this->url->link('marketing/ceshi', 'token=' . $this->session->data['token'], 'SSL');//尽量将代码放在与你要再文件夹的代码在一起。这里我们在marketing文件夹中举例测试。最后在V:menu.tpl中找到$marketing的<ul>标签中添加代码:<li><a href="<?php echo $ceshi; ?>"><?php echo $text_ceshi; ?></a></li>这样就可以将导航条中的显示我们“测试数据”连接
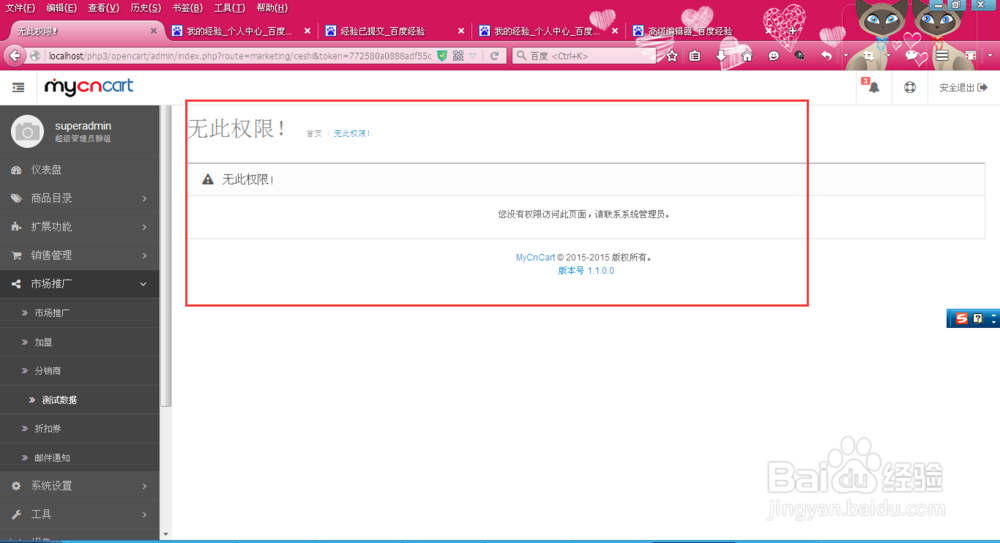
2、成功在导航条中显示之后,我们在CLM文件夹中找到markeing文件中添加ceshi.php;而V:文件夹中markeing文件中添加ceshi.tpl文件,之后我们点击导航条中“测试数据”,则会显示“无此权限”页。
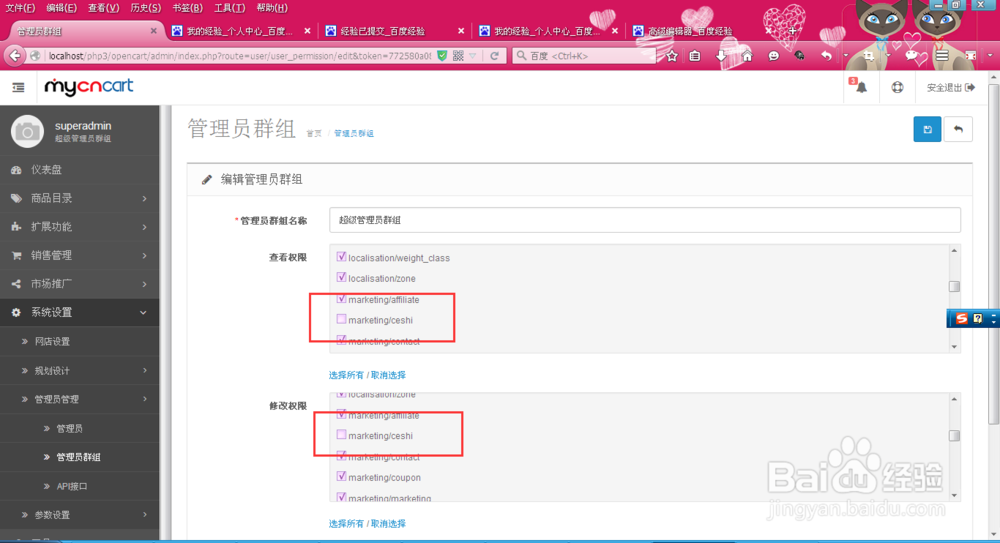
3、这样我们就要将系统中设置了,系统设置-》管理员群组 中编辑“超级管理员群组”将没有勾选的marketing/ceshi勾选起来
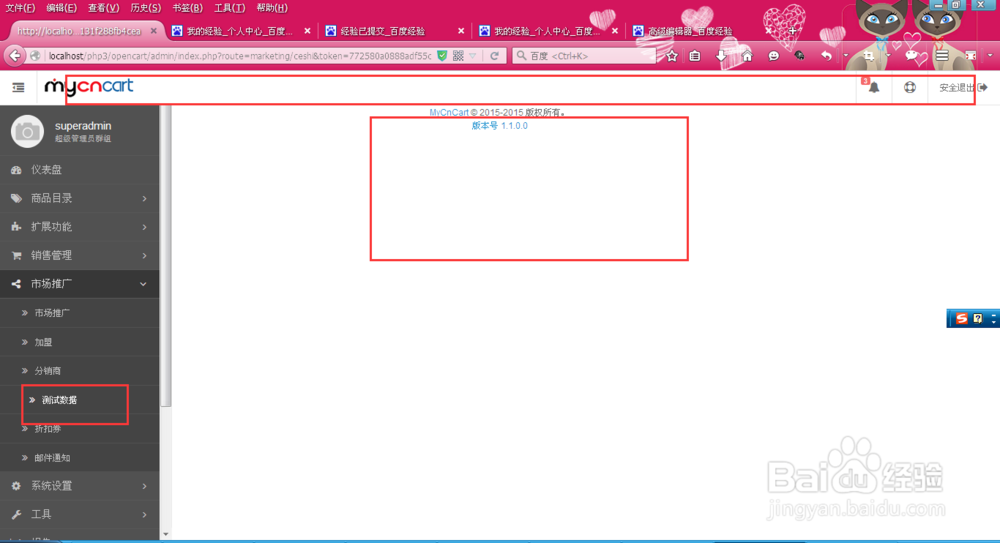
4、这样我们再点击“测试数据”这回显示则将显示空白页,这样我们就可以开始编写代码了首先我们在C:menu.php文件中添加代码:
<?phpclass ControllerMarketingCeshi extends Controller { private $error = array(); public function index() { $data['header'] = $this->load->controller('common/header');//调用头文件 $data['column_left'] = $this->load->controller('common/column_left');//导航条 $data['footer'] = $this->load->controller('common/footer');//底部数据 $this->response->setOutput($this->load->view('marketing/ceshi.tpl', $data)); //调用视图文件 }}然后再V:ceshi.tpl文件中添加:
<?php echo $header;?><?php echo $column_left; ?><?php echo $footer;?>
这样就可以显示“测试数据”了
5、现在再C:ceshi.php添加代码:
$this->load->language('marketing/ceshi');//调用语言文件 $this->document->setTitle($this->language->get('heading_title'));//设置标题 $this->load->model('marketing/ceshi');//调用model文件
$data['breadcrumbs'] = array(); $data['breadcrumbs'][] = array( 'text' => $this->language->get('text_home'), 'href' => $this->url->link('common/dashboard', 'token=' . $this->session->d ata['token'], 'SSL') ); $url = ''; $data['breadcrumbs'][] = array( 'text' => $this->language->get('heading_title'), 'href' => $this->url->link('marketing/ceshi', 'token=' . $this->session->data['token'] . $url, 'SSL') ); $data['heading_title'] = $this->language->get('heading_title');
这样我们就要在L:ceshi.php添加:
<?php$_['heading_title'] = '测试数据';
在V:ceshi.tpl中添加:
<div id="content"> <div class="page-header"> <div class="container-fluid"> <h1><?php echo $heading_title; ?></h1> <ul class="breadcrumb"> <?php foreach ($breadcrumbs as $breadcrumb) { ?> <li><a href="<?php echo $breadcrumb['href']; ?>"><?php echo $breadcrumb['text']; ?></a></li> <?php } ?> </ul> </div> </div>
</div>
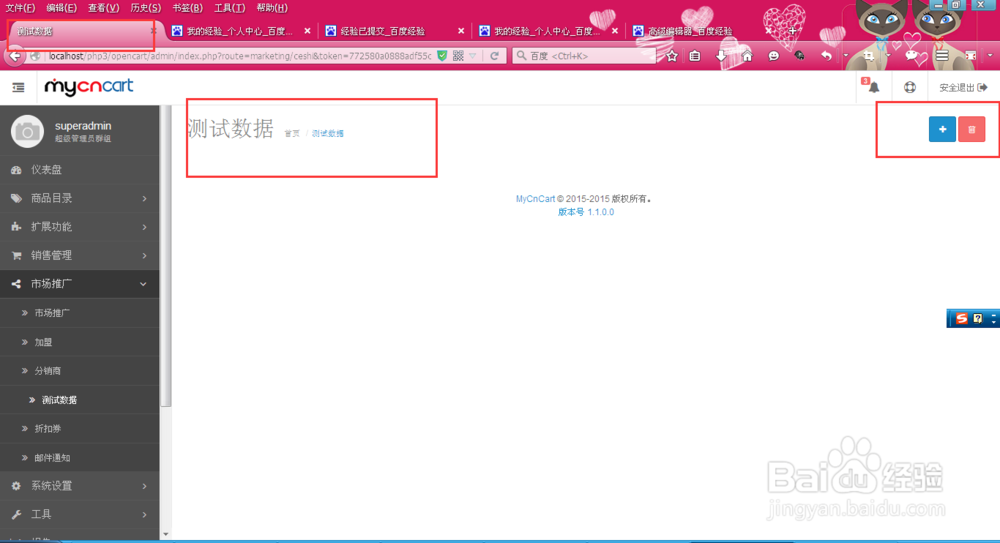
6、这样简单的后台显示就出来了,但是我们还要将后台数据连接到前台显示出来
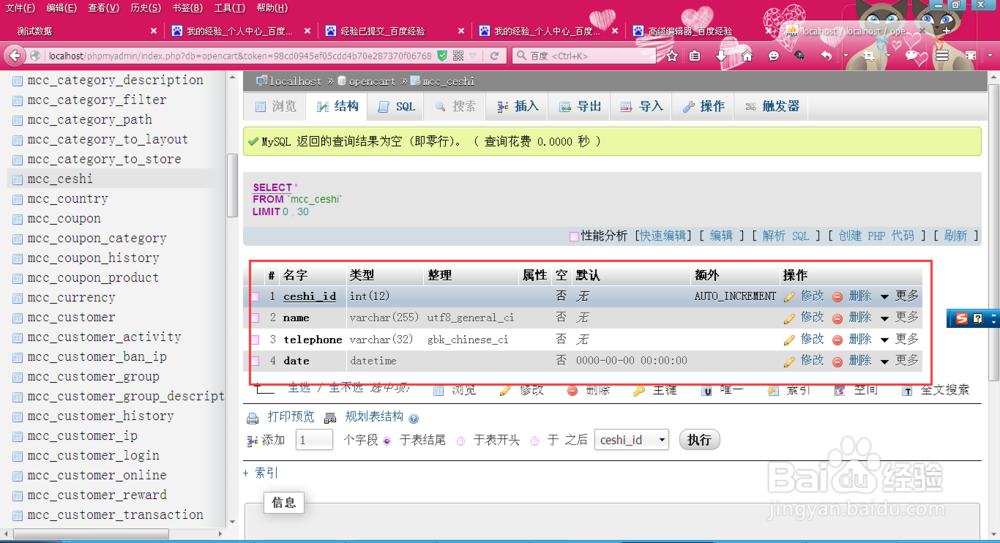
这样我们就要新建数据表mcc_ceshi,这样可以在表中添加几条数据
7、首先在M:sechi.php文件添加:
public function getlist() { $sql = "SELECT DISTINCT * FROM " . DB_PREFIX . "ceshi"; $query=$this->query($sql); return $query->rows; }
在C:ceshi.php文件中添加:
$data['text_name'] = $this->language->get('text_name');$data['text_telephone'] = $this->language->get('text_telephone');$data['text_date'] = $this->language->get('text_date');
$results=$this->model_marketing_ceshi->getlist(); foreach($results as $result){ $data['ceshis'][]= array( 'name' => $result['name'], 'telephone' => $result['telephone'], 'date' => $result['date'] ); }
之后便在L:sechi.php添加代码:
$_['text_name'] = '姓名';$_['text_telephone'] = '电话';$_['text_date'] = '添加时间';
最后在V:ceshi.tpl文件中添加:
<div class="container-fluid"> <div class="table-responsive"> <table class="table table-bordered table-hover"> <thead> <tr> <td class="text-left"><?php echo $text_name; ?></td> <td class="text-left"><?php echo $text_telephone?></td> <td class="text-right"><?php echo $text_date; ?></td> </tr> </thead> <tbody> <?php if ($ceshis) { ?> <?php foreach ($ceshis as $ceshi) { ?> <tr> <td class="text-left"><?php echo $ceshi['name']; ?></td> <td class="text-left"><?php echo $ceshi['telephone']; ?></td> <td class="text-right"><?php echo $ceshi['date']; ?></td> </tr> <?php } ?> <?php } else { ?> <tr> <td class="text-center" colspan="3"><?php echo $text_no_results; ?></td> </tr> <?php } ?> </tbody> </table> </div> </div>
