CentOS 7.0 安装 ZCS 8.6.0
Zimbra的核心产品是Zimbra协作套件(Zimbra Collaboration Suite,简称ZCS)。除了它的核心功能是电子邮件和日程安排服务器,当然袖紫囫挡还包括许多其它的功能,就象是下一代的微软Exchange。在电子邮件和日程安排之外,它还提供文档存储和编辑、即时消息以及一个利用获奖技术开发的全功能的管理控制台。ZCS同时也提供移动设备的支持,以及与部署于Windows、Linux或Apple操作系统中的桌面程序的同步功能。ZCS 8.6带来了新的特性,改善邮件服务器,它提供了一个更好的web客户端体验。《Linux就该这么学》-技术干货-《CentOS 7.0 安装 ZCS 8.6.0》将会将以CentOS7.0为平台安装ZCS。
工具/原料
系统:Centos7
ip地址:192.168.1.109
安装前准备
1、关闭SELINUX并清空iptable规茸垂扌馔则# sed -i 's/SELINUX=enforcing/SELINUX=disabled/' /etc/sysconf足毂忍珩ig/selinux# yum -y install iptables-services# iptables -F# iptables -X# iptables -z# service iptables save# reboot
2、配置主机名# hostnamectl set-hostname mail.zimbra.com# echo "192.168.1.109 mail.zimbra.com" >> /etc/hosts
3、安装zimbra所需要的包和库# yum -y update# yum -y install perl perl-core nmap sudo libidn gmp libaio libstdc++ unzip sysstat sqlite nc
4、关闭安装的MTA服务# systemctl stop postfix.service# systemctl disable postfix.service
配置dns服务器
1、安装bind# yum -y install bind bind-utils
2、修改主配置文件vim /etc/named.conf添加下面的配置:zone "zimbra.com" IN { type master; file "稆糨孝汶;zimbra.com"; allow-update { none; };};zone "1.168.192.in-addr.arpa" IN { type master; file "192.168.1.arpa"; allow-update { none; };};
3、配置区域配置文件# vim /var/named/zimbra.com$TTL 1D@ IN SOA @ rname.invalid. ( 0 ; ser足毂忍珩ial 1D ; refresh 1H ; retry 1W ; expire 3H ) ; minimum NS ns.zimbra.com. MX 10 mail.zimbra.com.ns A 192.168.1.109mail A 192.168.1.109# vim /var/named/192.168.1.arpa$TTL 1D@ IN SOA @ rname.invalid. ( 0 ; serial 1D ; refresh 1H ; retry 1W ; expire 3H ) ; minimum NS ns.zimbra.com.109 PTR ns.zimbra.com.109 PTR mail.zimbra.com.
4、重启bind# systemctl restart named.service
5、使用本地dns服务器# echo "nameserver 127.0.0.1" >> /etc/resolv.conf
安装zimbra
1、下载zimbra# wget https://files.zimbra.com/downloads/8.6.0_GA/zcs-8.6.0_GA_1153.RHEL7_64.20141215151110.tgz
2、解压压缩包并修改文件夹名# tar -zxvf zcs-8.6.0_GA_1153.RHEL7_64.20141215151110# mv zcs-8.6.0_GA_1153.RHEL7_64.20141215151110 zimbra
3、运行脚本开始安装zimbra# cd zimbra# ./install.sh --platform-overrideOperations logged to /tmp/install.造婷用痃log.2744Checking for existing installation... ... ...Do you agree with the terms of the software license agreement? [N] y ... ...Install zimbra-ldap [Y]Install zimbra-logger [Y]Install zimbra-mta [Y]Install zimbra-dnscache [Y] nInstall zimbra-snmp [Y]Install zimbra-store [Y]Install zimbra-apache [Y]Install zimbra-spell [Y]Install zimbra-memcached [Y]Install zimbra-proxy [Y] ... ...The system will be modified. Continue? [N] y ... ...DNS ERROR resolving MX for mail.zimbra.comIt is suggested that the domain name have an MX record configured in DNSChange domain name? [Yes]Create domain: [mail.zimbra.com] zimbra.com MX: mail.zimbra.com (192.168.1.109) Interface: 127.0.0.1 Interface: ::1 Interface: 192.168.1.109done.Checking for port conflictsMain menu 1) Common Configuration: 2) zimbra-ldap: Enabled 3) zimbra-logger: Enabled 4) zimbra-mta: Enabled 5) zimbra-snmp: Enabled 6) zimbra-store: Enabled +Create Admin User: yes +Admin user to create: admin@zimbra.com ******* +Admin Password UNSET +Anti-virus quarantine user: virus-quarantine.vhwa2pqsa7@zimbra.com ... ...Address unconfigured (**) items (? - help) 6Store configuration 1) Status: Enabled 2) Create Admin User: yes 3) Admin user to create: admin@zimbra.com ** 4) Admin Password UNSET ... ... Select, or 'r' for previous menu [r] 4Password for admin@zimbra.com (min 6 characters): [5okG5xTdX] 123456Store configuration ... Select, or 'r' for previous menu [r] r ... ...*** CONFIGURATION COMPLETE - press 'a' to applySelect from menu, or press 'a' to apply config (? - help) aSave configuration data to a file? [Yes]Save config in file: [/opt/zimbra/config.11982]Saving config in /opt/zimbra/config.11982...done.The system will be modified - continue? [No] yes ... ...Notify Zimbra of your installation? [Yes] noNotification skippedSetting up zimbra crontab...done.Moving /tmp/zmsetup04082016-205457.log to /opt/zimbra/logConfiguration complete - press return to exit
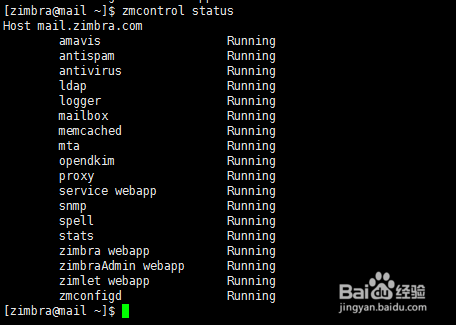
4、启动zimbra并查看状态# su - zimbra //切换到zimbra用户# zmcontrol start //启动zimbra# zmcontrol status //查看启动状态# zmcontrol stop //停止zimbra查看zimbra启动状态:
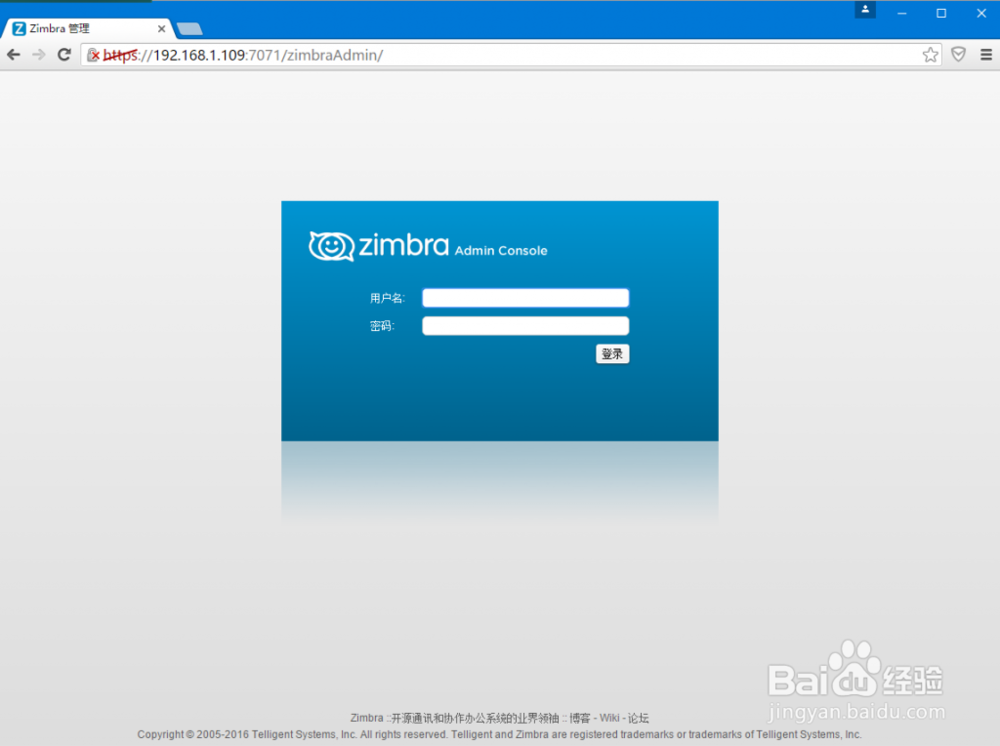
5、访问管理页面测试访问zimbra管理页面,在浏览器输入:https://192.168.1.109:7071
6、登录界面:
7、后台管理界面:

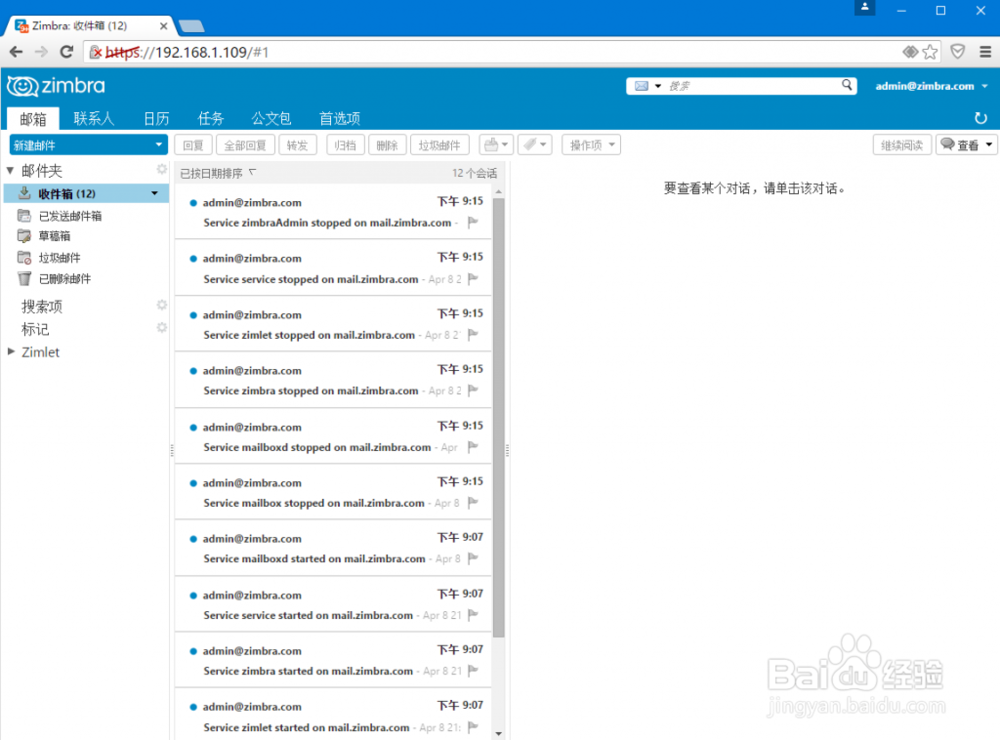
8、访问zimbra客户端,在浏览器输入:https://192.168.1.109
9、用户登录界面:

10、用户界面: